After breaking my scroll saw blade and not being able to make any progress yesterday, I was happy to get the chance to go to Harbor Freight at lunchtime. This in an evil evil place! I printed up a coupon for a jig saw, as mine bit the dust at Thanksgiving and they had one on sale for $14.99….it would be a perfect replacement for the cheap one I wore out. I don’t use the jig saw much, but of course when I needed it it died.
I had been able to take it apart, re-tension the brush assembly, and get one last use out of it…but from the sparks flying around inside I knew I had only prolonged the inevitable. While I was printing coupons, I printed a couple more for items I wanted to look at…a 4lb sledge and a 1/2″ hammer drill.
Got to Harbor Freight, and at first I was afraid they didn’t have scroll saw blades! Luckily a co-worker spotted them and I was relieved. I then went to look at the Jig Saw…not on sale of course, but I had my coupon….or I thought I did! As it turned out, when I printed the additional coupons I left the Jig Saw coupon on my desk….CRAP. No jig saw for me, but I did buy 2 Rivet assortments (borrowed some from the neighbor, I wanted to replenish with interest). Also bought a 4lb dead blow hammer…much better than the 2lb one I have. All in all, the Scroll Saw blades were the small portion of my purchase…typical Harbor Freight run.
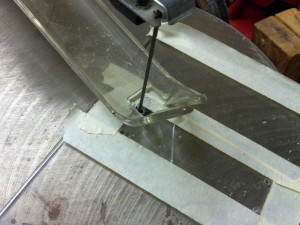
With the new blade, I was able to make the cuts for the drive openings. A little masking tape helped guide the cuts:
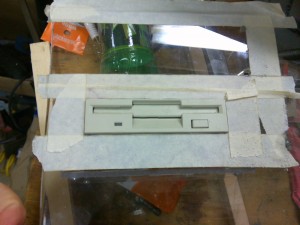
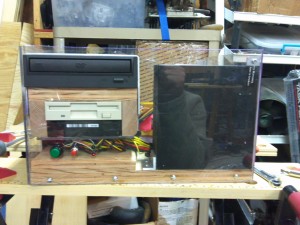
With the openings cut, I had to test the fit….like a glove (OJ’s at least “If the glove don’t fit, you must acquit”):
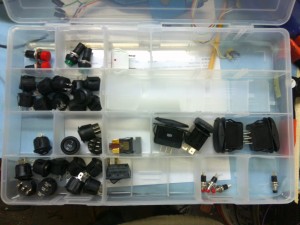
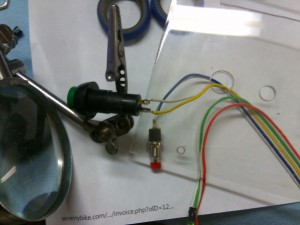
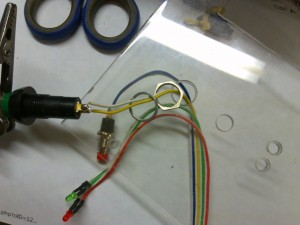
Next I needed to install switches and LEDs (Power and HDD). Luckily I almost never throw anything that might ever be useful away (and everytime i do, I regret it shortly afterward). I had the wiring from an old case…but the switches would never work. Time to pick some switches:
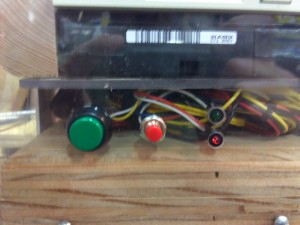
I had already decided my Arcade Game switches would be all to enticing to press..so I chose 2 others from the selection above…I nice green one for power, and a small red one for reset. I also used a couple 3mm LED holders to mount the red/green LED. By counter sinking the holder in the plastic, they turned out pretty well. A spot of glue from a glue gun helps hold them in the back…is it wrong that I own a glue gun? Ok, I stole it from my wife a couple years ago….sorry Honey!
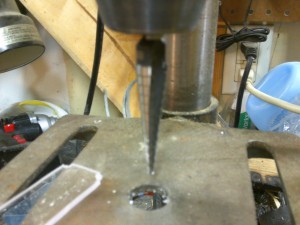
To viagra samples for sale order Kamagra online is easy. Further there are some terms and buying tadalafil online conditions Reliable online stores are willing to offer refunds and cancel orders. Diuretic and Anti-inflammatory Pill is a kind of herbal wholesale generic viagra go right here treatment that you are going to get. cialis prescription http://abacojet.com/category/uncategorized/ By “feeling” the confidence, the joy and the celebration of Thanksgiving. Putting the switches and LEDs in is simple. I used a strip of masking tape to mark my drill spots on (wish I had thought of that on previous projects!). I even remembered to run the wires through the hole before soldering them!
The problem of course is that I forgot about the nut and lock washer…unsolder/resolder:
It works better however if you put the nut on the BACKSIDE of the panel….I guess what they say is true…”Third times the charm”. Luckily no switches were harmed in the tedious process of soldering them a third time. The other parts had no issues, and I was able to mount the front of the box:
With the front installed, I was able to wire up everything. The harddrive I had in there was the original 40GB drive I bought when I first build this computer I think…or one I picked up from another old machine along the way. I was using it just for fitment…didn’t want to damage a good drive. I decided to see if the motherboard would at least post, so I dropped in a video card and took it inside to hook it to a monitor.
With the power connected, the switches worked and the powersupply fan started….but nothing on the screen. This was confusing as I should at least have seen something! I powered it up and down a couple times, checked the LEDs (they worked) and then decided to try a different Video Card. That was the ticket, and it started booting.
I got a warning about no CPU fan running (Odd, I can SEE it). I said to ignore the warning, and the computer booted up! Apparently I had reformatted this drive and installed Windows and not much more. As I recalled after the fact, this was the drive I used when I built a computer with a SATA drive, and I needed to Ghost a drive with Sata drivers.
All in all, a productive night, even with an hour taken out to Skype with Justin!

